I'm back at it and sewing for round two of the Super Online Sewing Match Community Match. The pattern that they chose for round two is the Marianne dress from Christine Haynes. Much like the Sutton Blouse from round one, the Marianne is not a pattern I would naturally gravitate towards. Part of what I love though about strictly following along with the SOSM contest patterns is altering the chosen pattern to be something that will get some play in my wardrobe.

I had a hard time figuring out how I was going to tailor this project to my personal taste. What I decided was that I would use the two-tone look of look B, but sleeveless like look A. I found my base fabric in my stash, it's an Art Gallery Knit called Stamped Grove Daylight. I got it the last time I was in Boston and went to Grey's Fabric. I was hoping to find a lightweight semi-sheer fabric for the top and then I wanted to continue part of the pattern of the dress into the yoke with some hand embroidery. I found the contrast fabric at JoAnn's, it's a light ivory sweater knit.
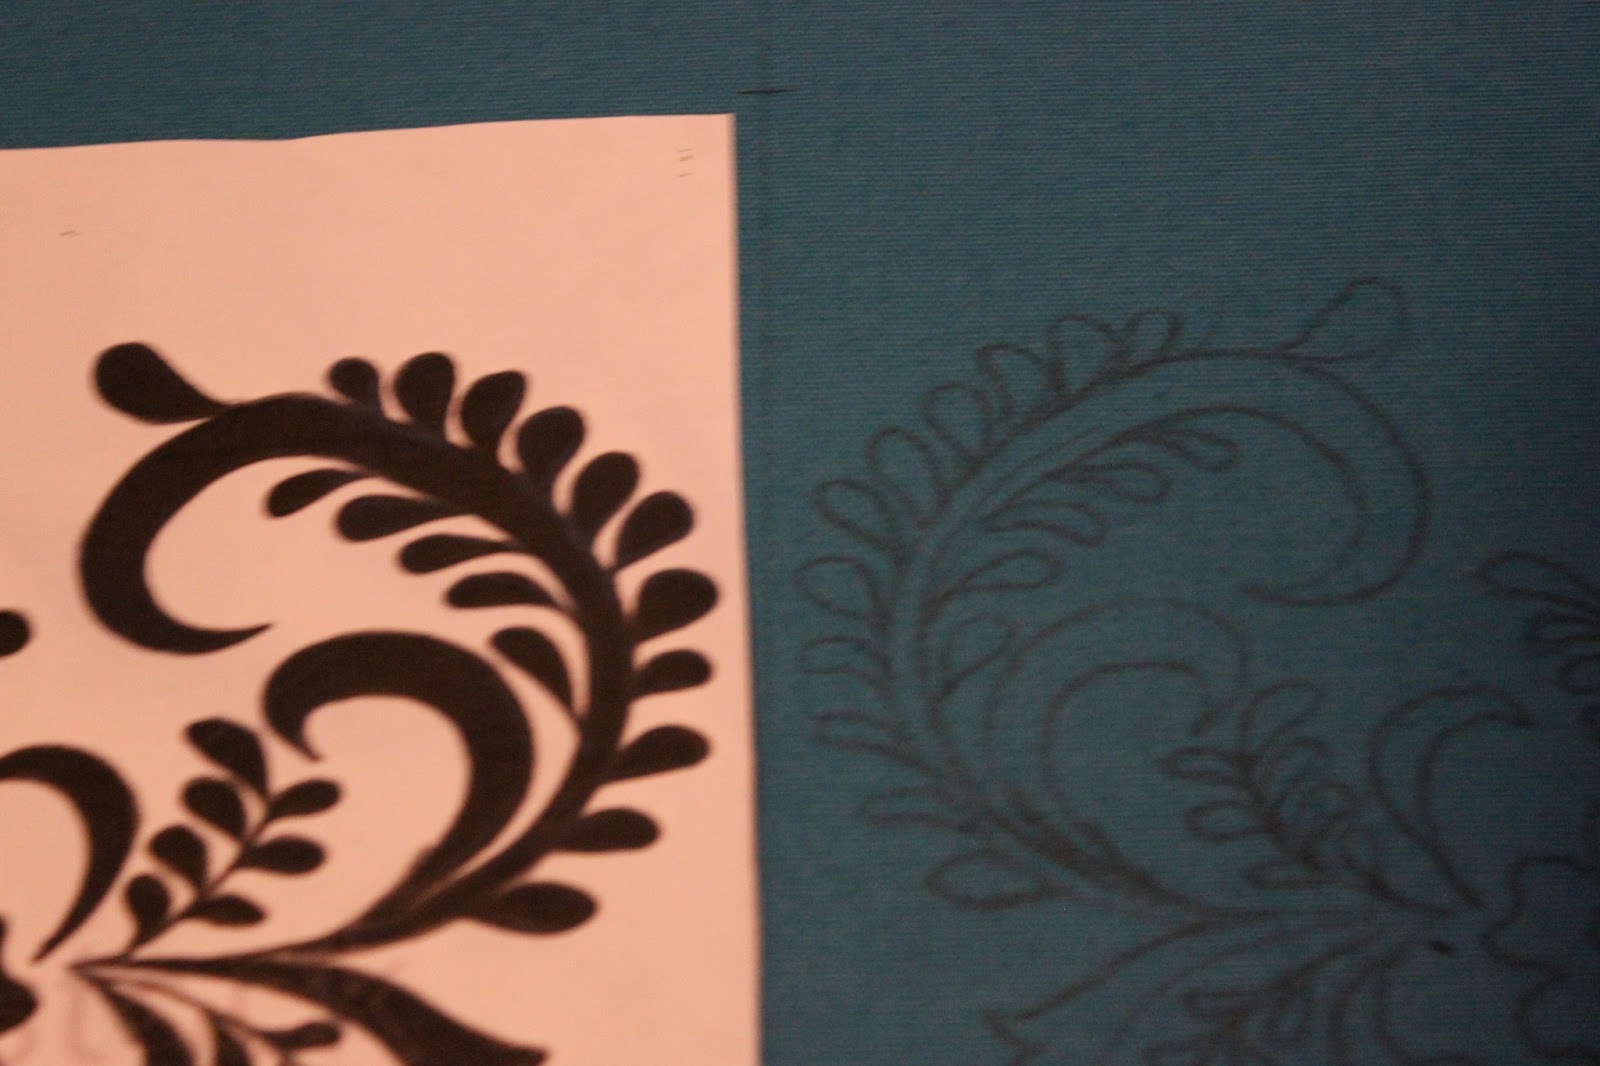
First step was to cut my pattern out. Once I marked the pattern, cut it, and I could move on to my hand embroidery. It makes it easier to do the hand embroidery before you put the pattern together. With the sweater knit being slightly sheer I could lay it over the pattern fabric and mark the pattern on the front of the front yoke pattern piece.


One of the important things that I've found with hand embroidery, especially with sheer fabric, is to keep the traveling stitches on the back neat. I don't want to put all this hard work in on the front only to have a thread explosion on the back.

The pattern calls for the use of clear elastic on the shoulder seams and I haven't used that before. I didn't have any and I briefly entertained just rolling forward without it, but instead I popped out to JoAnn's and bought myself some clear elastic. Let me say that I am so glad that I did. The stability it provided to the shoulder of the dress was amazing. This sweater knit is stretchier than the jersey I'm using on the bottom and I was worried about the shoulders stretching out. With the clear elastic in there I need not worried anymore!


One problem that I ran into with this pattern was the neck banding. The sweater knit stretches a little different than a jersey knit, when I stretched it the banding became too thin and hard to put through the serger. What I did was to recut the neck banding 2.5" longer. That little bit of extra fabric made all the difference. It went around the neck edge beautifully.


I attached the fronts and backs of the bottom of the dress to the yoke and I was excited to see how well the pattern matched up to embroidery that I did. It's all coming together!

Once the bottoms were on there were only side seams and hems left. I put the side seams together and then I popped it on. It was a little too shapeless for me so I nipped it in at the waist and bust. I don't know that I would've made a different size all over but I could've definitely used a smaller size through the bust and waist even though I like the flow over the hip. I made a size 6 but I probably could have made a size 2 at the waist a size 4 at the bust and kept the size 6 at the hip. The size at the hip could've gone smaller if I wanted it more fitted but I like the flow of the skirt.

I used my regular machine to do the hems on the sleeves and the skirts. I do have a coverstitch machine and I entertained using it but honestly I didn't want to set it up. I was also worried about using it on the light weight sweater knit. I know that is lazy but the zig zag looks great! I will say that the pattern was pretty short. I am 5'2" and know that if I were much taller this would be a tunic top rather than a dress. To my tall sewcialists out there, be advised, you may want to lengthen it a touch.


I set up my camera and did a little mini photo shoot in the studio. It's a cute dress! It went together SO fast, with the exception of the time for the hand embroidery, I think this dress could've gone together in an hour. I also think that this would make a great top shortened. I'm glad I embraced this pattern. It was really fun!