As many of you will know, Sew Mama Sew recently started up it's Super Online Sewing Match II. They had done the first SOSM two years ago and I missed the audition deadline. As a result I participated in the community match portion of the contest and I had a great time.
When I discovered that they were doing this contest again I immediately auditioned. Sadly I was not chosen as a contestant, however that does not mean that I will not be participating. Much like last time I look forward to joining the community match and participating along with the contestants as they start this journey.
The first project for the contestants is the Sutton Blouse from True Bias. Most amazing thing about this blouse? The designer is the previous winner of the SOSM! How awesome is that?

Now I have to be honest and admit that the Sutton is not my typical make. I tend to like my garments incredibly fitted, with more of a vintage feel. But I wanted to take a page out of Kelli from True Bias's book and look at this as an opportunity to make the pattern my own. One of the most consistent comments on her work in the first SOSM was that she took the challenge, embraced it, and then flipped it. Challenge accepted.
I started, as one must with a PDF pattern, I printed it and taped it together. I cut out the size 10 which was actually smaller than recommended based on my measurements, but in hindsight I think that I would probably make an 8 when I make this top again.
I used a solid cream colored crepe which measured 60" wide and allowed me to use a little over a yard of fabric. Cutting is where I made my first alteration. This blouse has a pair of side slits and the back hangs a little lower than in the front. I really wanted a my version to just be a straight across hem with no side slit, so I measured the side seams and subtracted the difference from the bottom of the back piece. Boom! Even hem.

Once I marked my pattern I then carefully pinned my fabric together before cutting. I don't usually do this but to use a highly technical term, my fabric as super "woodgey" and I wanted to make sure that the pieces didn't get distorted when I cut them out.

The first thing I did with this blouse was to stay stitch the neck edge. This is super important. By stay stitching the neck edge you help to make sure that it doesn't stretch when you sew and handle it. The neck edge is finished with bias, so that is not really going to help with the structure. That is another reason that stay stitching is so important.

After the stay stitching I applied the bias to the neck edge, under stitched it and the top stitched it down. Once that was accomplished it was time to french seam.
Here is what I would like to say about french seams.
- They are not as hard as you think. I know I hear "french" and I think, ooh fancy. While they are fancy (you will feel fancy wearing them) they are not super difficult as long as you follow the steps. (Kelli details the process very well in her pattern if you are new to them.)
- TRIM. YOUR. SEAM ALLOWANCE! I know all caps is harsh but when she says to trim your first seam allowance down from 1/4" to 1/8", she is not joking. By trimming it and then sewing you reduce the likelihood that little strings from the fraying edge of your fabric will not try to escape the front of your seam.
- Press the living daylights out of the thing. Really pressing it helps so much. you will be glad that you did.

Trimming my first seam from 1/4" to 1/8"

Pressed my seam post trimming.
When you are working with "woodgey" or shifty fabric like I was sometimes you need to pin for your life, because no matter how much you press, it can jack your junk up once it goes through that machine.
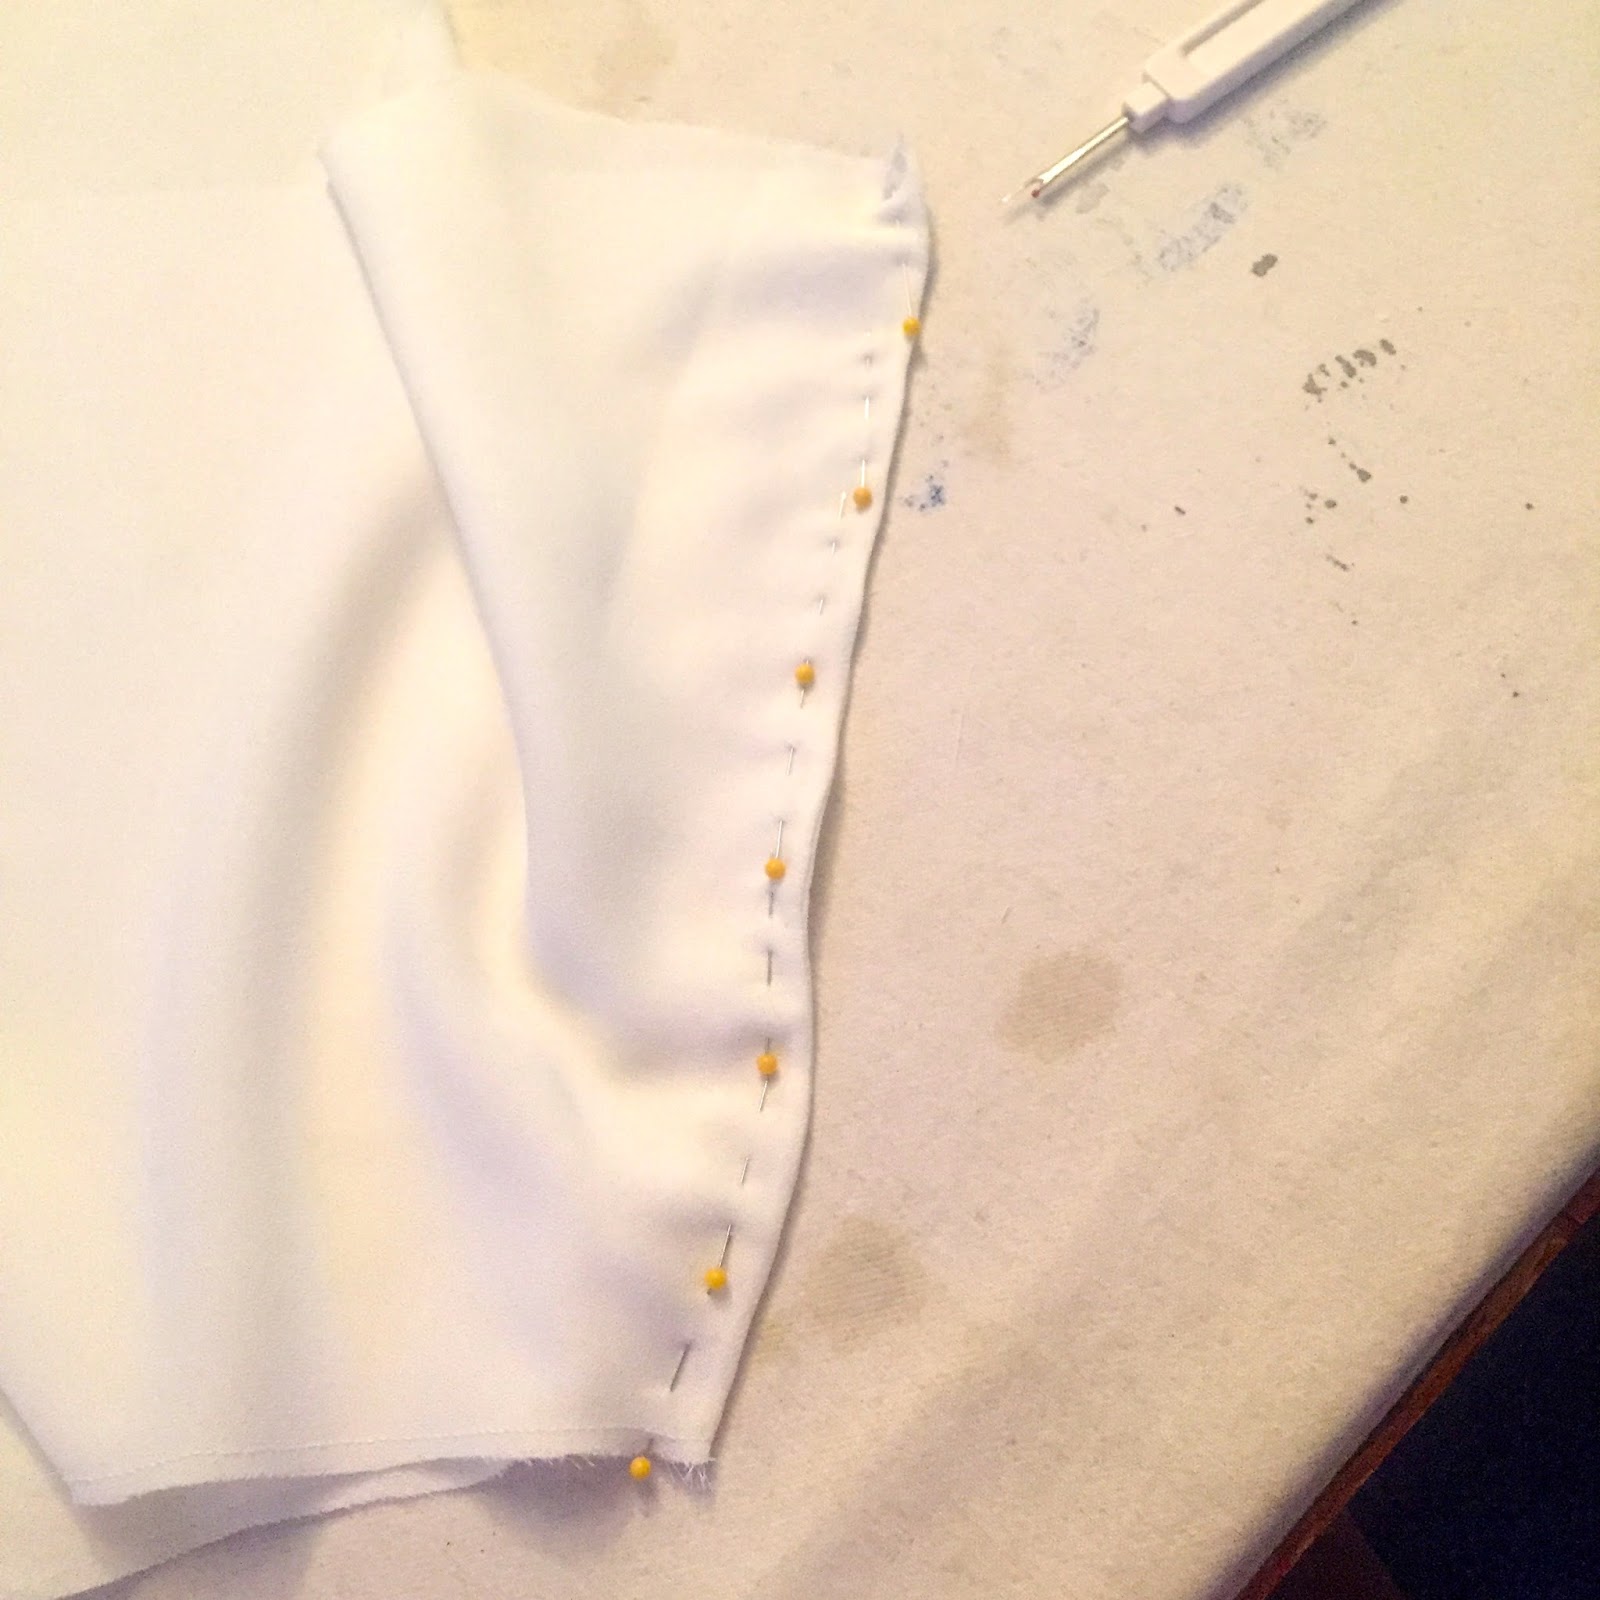
Pinning for the stars.
Now, my biggest alteration. Knowing that I like a good fitted blouse, I decided to add five rows of shirring to the back of the garment. You may be asking yourself, "but Caroline how did you know where to put the shirring?". Well dear readers I will tell you. In looking at the pattern I noticed that the Lengthen/Shorten line sat just about on the natural waist. So only on the back pattern piece, I marked that line and with elastic thread hand wound in my bobbin and my stitch length set at 4 I stitched along that marked line while holding the tails of the thread. ***It is important with shirring to leave long tails and then thoroughly stitch them down so that they don't pull out.***
After the first row I just lined up my presser foot with that row and stitched straight across four more times. It gave me these neat rows of shirring at a back waist detail and some beautiful fullness. You will need to stretch the previous rows so you make sure the row you're working on goes in straight and smooth, only cinching and gathering when you release it.

Once the shirring was done it was easy breazy. Doing away with the slits and making the hem even the whole way around I was able to do french seams on the side seams and then I just top stitched my hem in and I had a blouse!
However in looking at it I realized that I wanted the gathered effect of the shirring to be mimicked somewhere else in the blouse. So I decided to do an elasticated pickup at the sleeve of the blouse. I put the blouse on and marked where I wanted the gethering to stop and start. I took the blouse off and marked that line. I then cut a piece of 1/4" elastic half the total distance I was spanning. I pinned the elastic at the starting and stopping points and then I used a narrow zigzag stitch to sew it in. Then my blouse was done and looking great!


Last but not least, here is the lady in action. This is the second time I've worn her since I finished her up last Friday. She's a beauty and went together in about 4 hours once I cut it out. I like it, I love it, and I'm gonna need some more of it.


In the end I am happy with the alterations I made and I think that with the shirring the blouse has the vintage feel that I needed. I will certainly make another.
What a perfect top! Your alterations improved it greatly, I think.
ReplyDeleteThanks Emily! The blouse itself has some really great structure to it and that made it easy to tinker with. I love the french seams.
Delete