Pages

Wednesday, February 25, 2015

Patterns by Gertie and Gertie's New Book for Better Sewing.

Those who know my sewing obsessions best know that I love Gretchen Hirsch. She writes the Blog for Better Sewing, has her own line of patterns, Patterns by Gertie, for Butterick, as well as having two fantastic books, Gertie's New Book for Better Sewing, and Gertie Sews Vintage Casual. Also according to her blog there is going to be a third book that is chalk full of dresses. EEP, I'm so excited!

Now that I've run through Gertie's pedigree for those who were unfamiliar, let me tell you why I am in love. I have never had such an easy fit from any complete collection of patterns. When I was 25 lbs heavier they fit fantastic, with the exception of shortening the hem I could walk into my size with minimal alts and it's even easier now that I've shed the extra pounds. Plus with the vintage flair of her esthetic is so firmly in my wheelhouse it's ridiculous!

Recently Gertie announced the release of her own fabric line and along with it she announced a contest using her Butterick Patterns. To this point I hadn't made one of her Butterick patterns. I'd only ever used the patterns from her book. Well the contest and Butterick Patterns being on sale at Joann's inspired me to give it a whirl.

I must disclaim here and tell you that I am not one of the finalists for the contest but I really love my dresses so at least I have three gorgeous ne dresses to keep me warm at night. I made three dresses, two versions of Butterick B6094 and one of Butterick B6019.


B6094


B6019

They were both really enjoyable to make but I think that the strapless one may be my spirit animal. It was just so right. B6094 was really breezy to make. It goes together super quick and the fold backs look really clean and satisfying.

This first black version of B6094 was my answer to the little black dress. It was easy to wear and had a clean Audrey Hepburn quality to it. The black is a cotton blend shirting and the pattern fabric is a cotton sateen. I got them both from Joanns and the sateen was even on the clearance rack and on top of it was 50% off. I think I got it for $3.50.

I added a few embellishments which were not on the original pattern plan. I did the flat piping at the underbust and waist seaming. I also used horsehair braid on the hem to give it a really satisfying swish and flow.


I love how this pattern shows off my tattoo. This tattoo was my very first by the way.

The second version I did of B6094 was out of this really great patterned fabric. There were a few challenges with this one initially. First and foremost I didn't have quite enough fabric to start with let alone extra fabric to pattern match. I laid it out very carefully and marked everything out before I cut anything. I painstakingly matched the pattern on the center back seam. My mother always told me that how you could tell a garment was of a good quality was if the pattern matched across the seams.

The foldbacks are out of a natural linen and the fabric is Pernilla's Journey Linen Blend Parrot JungleVanilla, (the link is to another colorway of the same pattern, the don't have any of this colorway left.) I got it from fabric.com.  On this version again I did the flat piping on the waist and underbust seams. I think that doing it here helped to break up the heaviness of the pattern and kept it from being overwhelming. I also did covered buttons out of the patterned fabric to go on the fold backs.


Also just on a side note I look just like my mom in this picture. There is a picture of her here, in my post recommitting.


This is the slim version of this skirt. I really like it and it's not overly slim so it still has great movement.


Do you see that pattern matching down the center back!!!


Again THE PATTERN MATCHING!

The next dress was my favorite, my spirit animal, and the one I should've submitted to the contest but alas I didn't, I chose the patterned dress. Ah well no use crying over spilt milk. I still LOVE this dress!

This dress was one of the more complicated patterns I've done. It had shirring much like the Gertie's Shirtwaist Dress I wrote about on my post Humbled by a Dress. The difference here is that rather than six rows of shirring there were two big panels of it. It also had these fabulous shaped bust cups. It fits like a dream and the shirring really helps it snug right up to the body. This is a super sexy dress and I would absolutely make it again.

The fabric was another cotton sateen clearance rack find from Joann's. My mom gave me a Joann's gift card for Christmas which allowed me to go a little hog wild at the beginning of the year.


Again this is another instance where I look like my mom and my grandmother. I love the romance of this dress.

I had so much fun sewing these dresses. As you can see I also had fun shooting them. My friend was looking to get back into photography and very kindly offered to shoot for me. She is really talented (obviously) and took these great shots. Not to mention the fact that we were out living it up a bit in the process. We had a blast, so much fun in fact that we're shooting again this evening. More posts about my latest creations soon!

Sunday, February 22, 2015

Humbled by a Dress. The Struggle is Real.

First things first, let's start with an introduction to the newest member of my sewing family. Everyone this is Bernice, my Bernina. She sews like a dream! Smooth as a hot knife through butter. I love this machine.


Well obviously with the arrival of my new baby, that sweet sweet Bernina I mean, I had to undertake a new project. I've had a few options rolling around my to do list for quite a while, but in the end I landed on making The Shirtwaist Dress from Gertie's New Book for Better Sewing. It was a long struggle but in the end she came out beautifully.


Now that we can keep in our minds eye how lovely the final dress is let me tell you that it was a process to cross the finish line with this dress. As one of my students would say I was riding the struggle bus and the struggle is real. I thought this dress would be something I could just kind of whip out. I mean when I sat down to actually sew it I had already cut my pieces, serged everything, and interfaced what needed it. However that was not what happened, it was not a breeze, and there were moments where I considered abandoning it. This dress was a classic example of an over sure sewer being humbled by a project that should've been relatively simple.

First thing that happened was that I somehow did the shirring on the back of the dress too tight. Don't ask me how I did it because I have no idea. This was the first big mistake and I didn't even really catch it at first. I looked at the shirred piece and thought to myself, "My that looks tight, Oh well I guess it will snug up to my lower back really nicely." Oh it snugged up, to the point that the elastic thread was cutting into my skin, it was painful and would not work.


Too Tight!!!

Next thing that gave me pause and bugged me was the sleeve. I drafted a tulip or overlap sleeve rather than a straight sleeve. I thought it would be cute. However not all my notches transferred through or at least I couldn't see them after I serged so I was having a hard time lining up the overlap properly. Also when I was hemming the edge, I wanted to do a delicate rolled edge but this light weight and drapey fabric becomes a thick hard root when it's double rolled on itself and it was rippling in a very unpretty way. Also it was kind of sticking out weird.


::Side Note:: I don't know how this fabric can be both drapey and light, yet at the same time thick as kevlar and battle approved. That's what happens with some of the mystery fabrics from Joann's.

I even debated the option of doing it sleeveless. but that didn't look right to me.It was so frustrating.


I ended up finishing the sleeve with some wide ric rac and I think it's cute and I used it on the collar too. Next I neglected to run the gathering stitches far enough so I had to redo those. Then finally after more struggle than seemed necessary the sleeve went in and looked cute.


Next thing that I completely jacked up was the collar and facings. Again I don't think my notches transferred correctly and so it was difficult to set in. Also I kept catching the dress and getting ripples. I took this collar out three of four times I swear! Infuriating!


I put this on my form and thought it must be wrinkled, till I popped the collar. Ugh why does it have to be so hard today! Finally the collar went in. Good, great, done. I think that collar ended up set back a little too far but I do not care it is staying. It doesn't look like crap anymore so I'll take it!

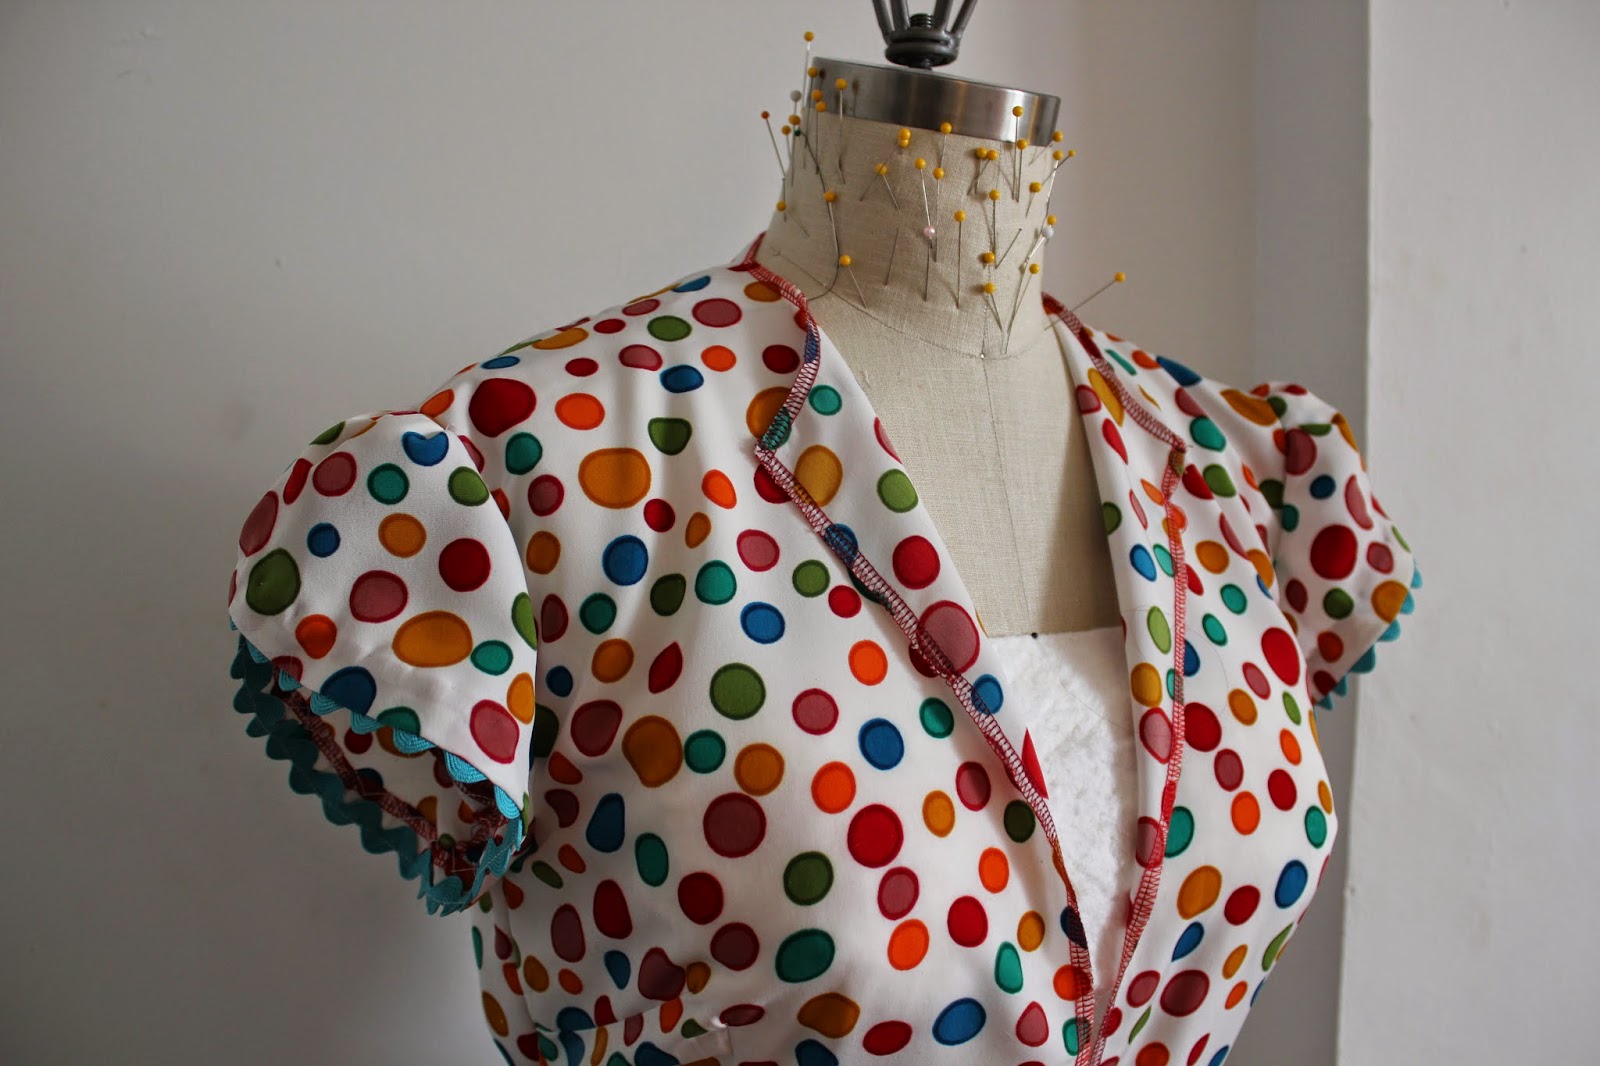
Everything came together pretty much to plan after the great collar debacle of 2015, and it is a cute dress. I mean polka dots and ric rac, obviously. Also the button holes that my machine does! They are amazing. I love Bernina, and I love my girl Bernice.


Ok, finished dress. After all that I think I love her. The sleeve is my absolute favorite and I will be using it in a future top or dress very soon. I am also A huge fan of the pleats in the skirt on the side of the center front. Really great.


I took a ton of length off of this dress but I am also 5'2", so that is fair.


This is the back re-shirred so as not to be too tight. Still don't know what I did in the first place but it's fixed now.


Sleeve cuteness.


The collar sets back pretty far, I think when I make this dress again, I'll change that.

I was humbled by this dress but I'm glad it didn't become a UFO and get chucked in the closet. There's a ton of snow out there right now but some day it will be spring and I'll break this little lady out.

Friday, February 20, 2015

Fabulous Space, Finally

Well I must tell you that moving furniture and changing up my space was quite an undertaking. I wasn't quite cursing the creator of Ikea furniture, but I did have more than one moment of frustration. I never really consider how much stuff I have until I try to move it from one spot to another. I have in the past lost steam midway through projects like this, so this time I created an incentive for myself. That incentive was the new machine that my hot wife bought me this weekend. I would not set it up until everything was done.

The first part of my battle was to move my junk from one room to the other.This was easier said than done. My apartment is very small and tight and so it was difficult to physically maneuver the furniture through the doors. I had to "pivot" in the words of Ross from friends. Most of my stuff went into my kitchen awaiting it's new home.


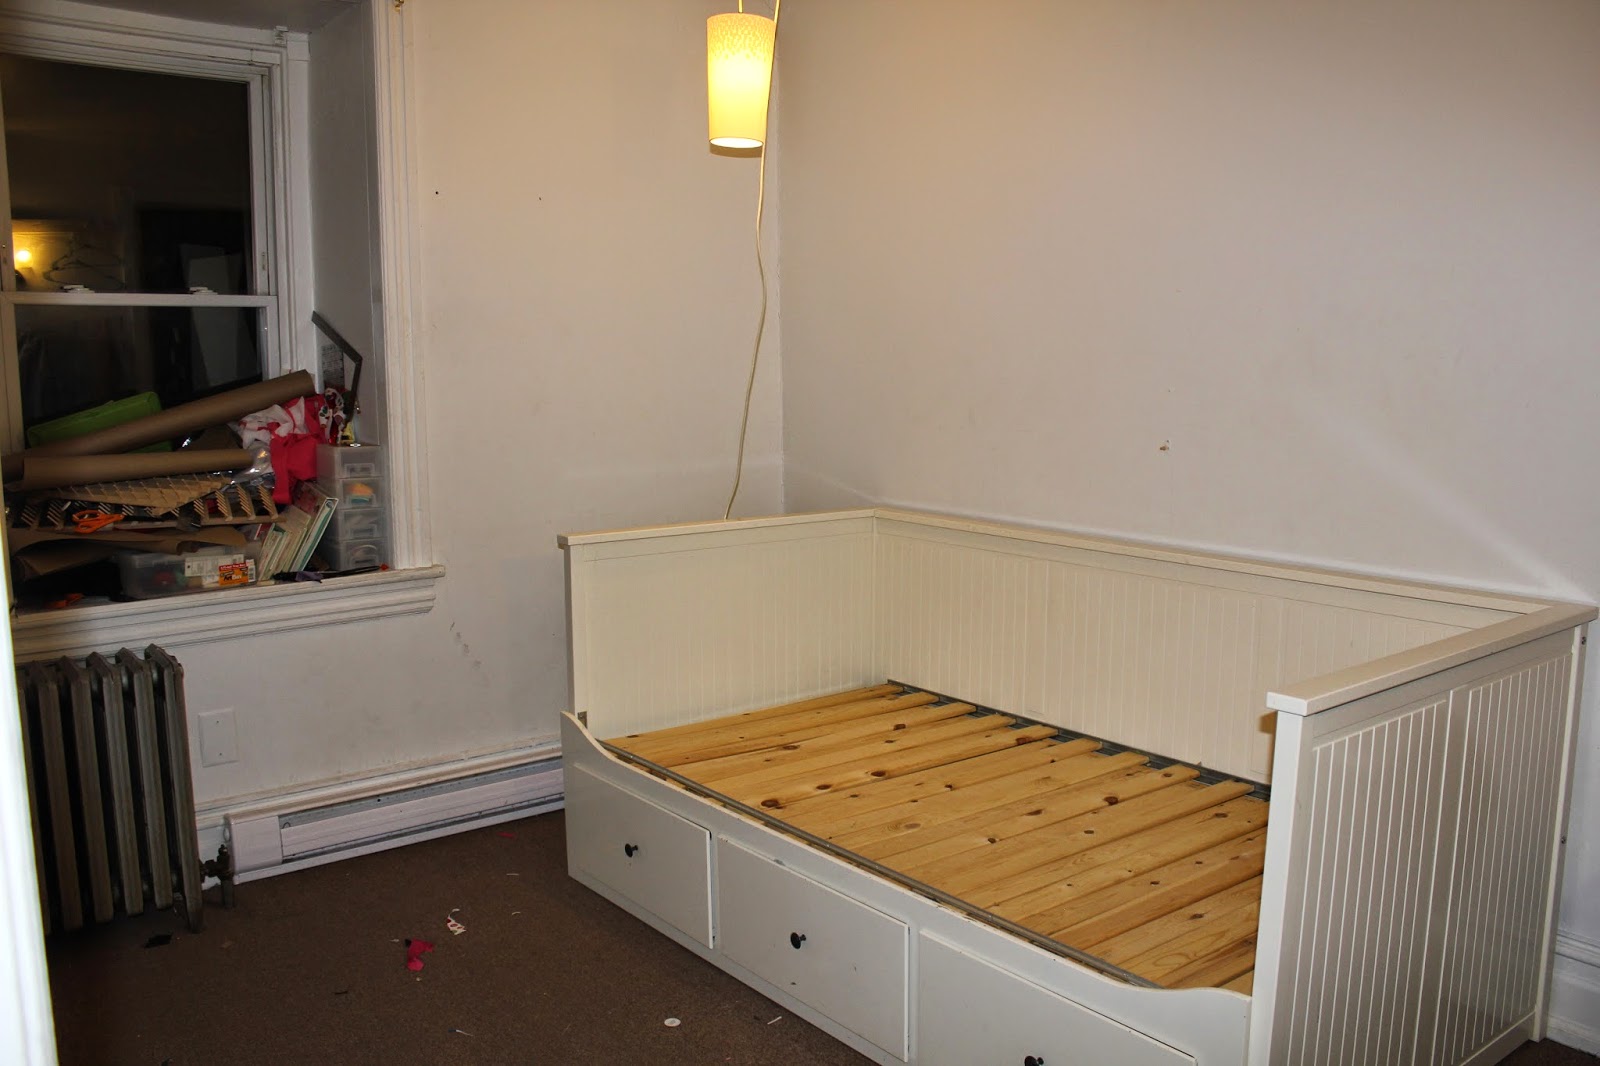
I thought that the day bed would be the most difficult to move but it actually wasn't super terrible. I had to flip the frame on it's back and three point turn it into my new bedroom. Then the drawer was all about sliding. I flipped it onto it's back and slid it right into place. The slats did all fall off with the exception of one . I hate the slatted bed system from Ikea, if only it weren't so comfortable and practical! Ugh, what can you do.


The hardest part was this huge table which is the base for my cutting table. I was afraid that I would have to get my ratchet out and unscrew the base from the top, but I didn't have to do that! Hooray!


Once everything was generally in place It was time to clean. I hate cleaning, but I had renewed purpose! I had to break out my new machine! I finished the bedroom first so that if I lost steam I could have a place to sleep.


Then came my mountain, the studio. I think it came out pretty well, I can't wait to get working in there.


You see that open space next to my serger? I wonder what is going there? That's right, it's my Bernina! The time has finally come to unpack it! AHHHH I'm so flippin' excited!


Well there she is. My beautiful Bernina. I'll be getting deep into my sewing when I get home from work. So more on that front, very, very, soon!

Tuesday, February 17, 2015

The importance of space and environment when it comes to creativity

My sewing space has always been important to me, but lately I am noticing that I am even more finicky about the aesthetics of my studio as well as it's orientation. When I moved to Pennsylvania into my tiny little apartment I thought I set the whole thing up perfectly.

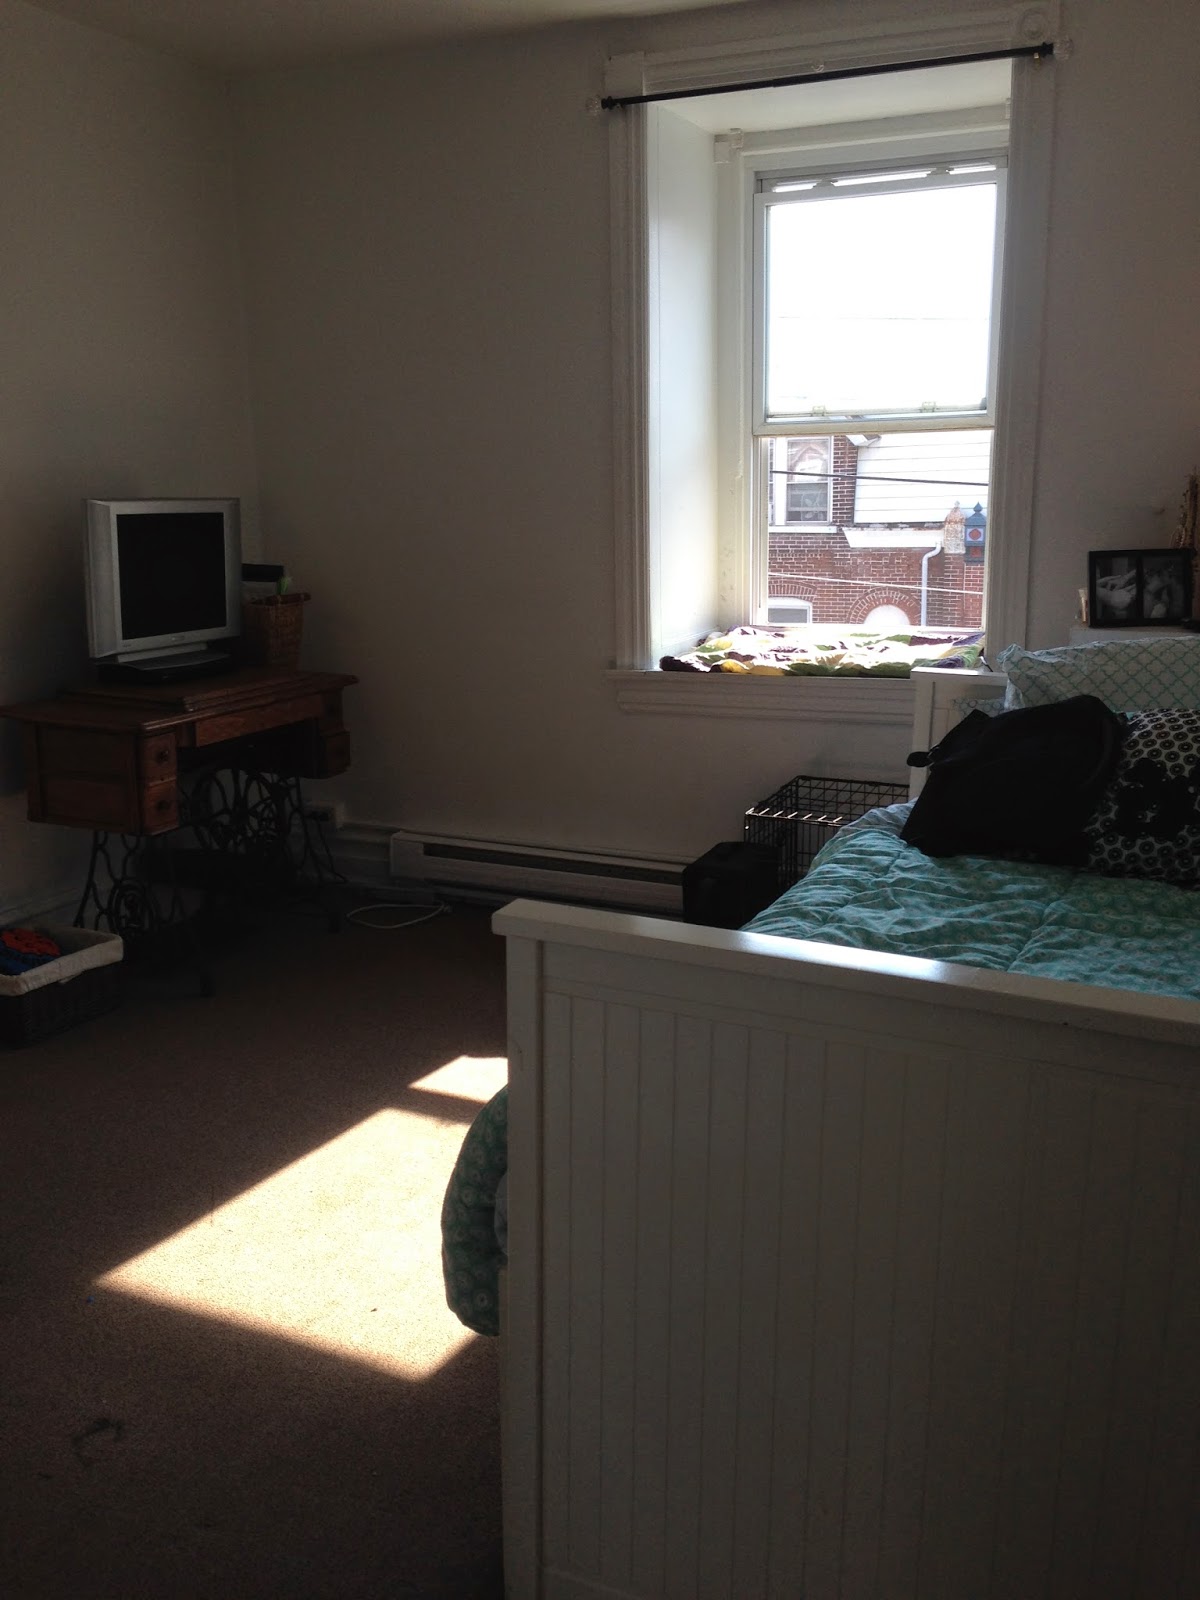
So currently I have this large bedroom and a smaller studio. The longer I live here the more I realize that I do not need a bigger bedroom. Who was I kidding? Aside from the fact that I just don't need the space of a larger bedroom there are other problems with my apartment's current layout. Firstly that the current bedroom has no door. I live alone right now so it's not a privacy thing, it's more of a drafty thing. My apartment has baseboard heat which is regulated room by room. Basically I'm cold. Also I just do not need that much space! You know where I do need the space? In my studio obviously.

Here is the current layout:


This is the studio currently, I really like it but I could use a little more space and honestly in the bedroom I could use tighter warmer quarters. So basically I am a planning genius...the second time around.


Then of course there's the bedroom, just look at all of that space!


A peak at the layout of the future:


Part of the impetus for the big change, is that for Valentines Day the most amazing wife in America bought me a Bernina. Honestly it just didn't feel right to set her up in an inadequate space. I am in tech week right now and the process is not leaving me the adequate time to passionately re-invent my space. UGH! Tonight is final dress so the true revamp will happen tomorrow. Pictures forthcoming.

What does your sewing/creative space look like? What things are important to you in that space? Is it the light? Is it organized in a way that puts all your tools at your finger tips? Let me know what's important in your space? When I figure it out I'll tell you what's important in mine.