It has been a few days but while I haven't blogged, I was not idle either. I endeavored to complete the challenges of day 5 of the Anise companion guide.
The missions for Day 5 were not exactly tricky, but a little tedious and time consuming. I had to talk to myself in the words of Dori from Finding Nemo with a stitching twist, "Just keep stitching, stitching, stitching..."
Day 5:
- Create the facing
- Attach the collar to the facing
- Attach the undercollar to the jacket
- Attach the facing and collar to the jacket
- Baste the facing in place
My facing pieces were ready and prepped from Day 4. All my buttonholes were ready and the interfacings were on.

First thing was to stitch the facing shoulder seams together. I then pressed the seams open and transferred the stay stitching marks to the interfacing on the wrong side of the fabric. The white interfacing made these marks very easy to see.

I stay stitched along the facing's neck edge between my marks. I stitched this line at 1/2" inch from the edge. This made sure that my stay stitching will stay within my seam allowance and not be seen on the face of the fabric.

Next I attached the collar to the facings and pressed the seam allowance open.

I repeated this process attaching the undercollar to the jacket. What came next was a interesting and perplexing to me was that the directions said that you would see the undercollar poking out from under the collar. The next step was to mark where the collar hits the undercollar and to trim the excess away. I've never done that before, so it was one of those moments that make you go "Ooooh".
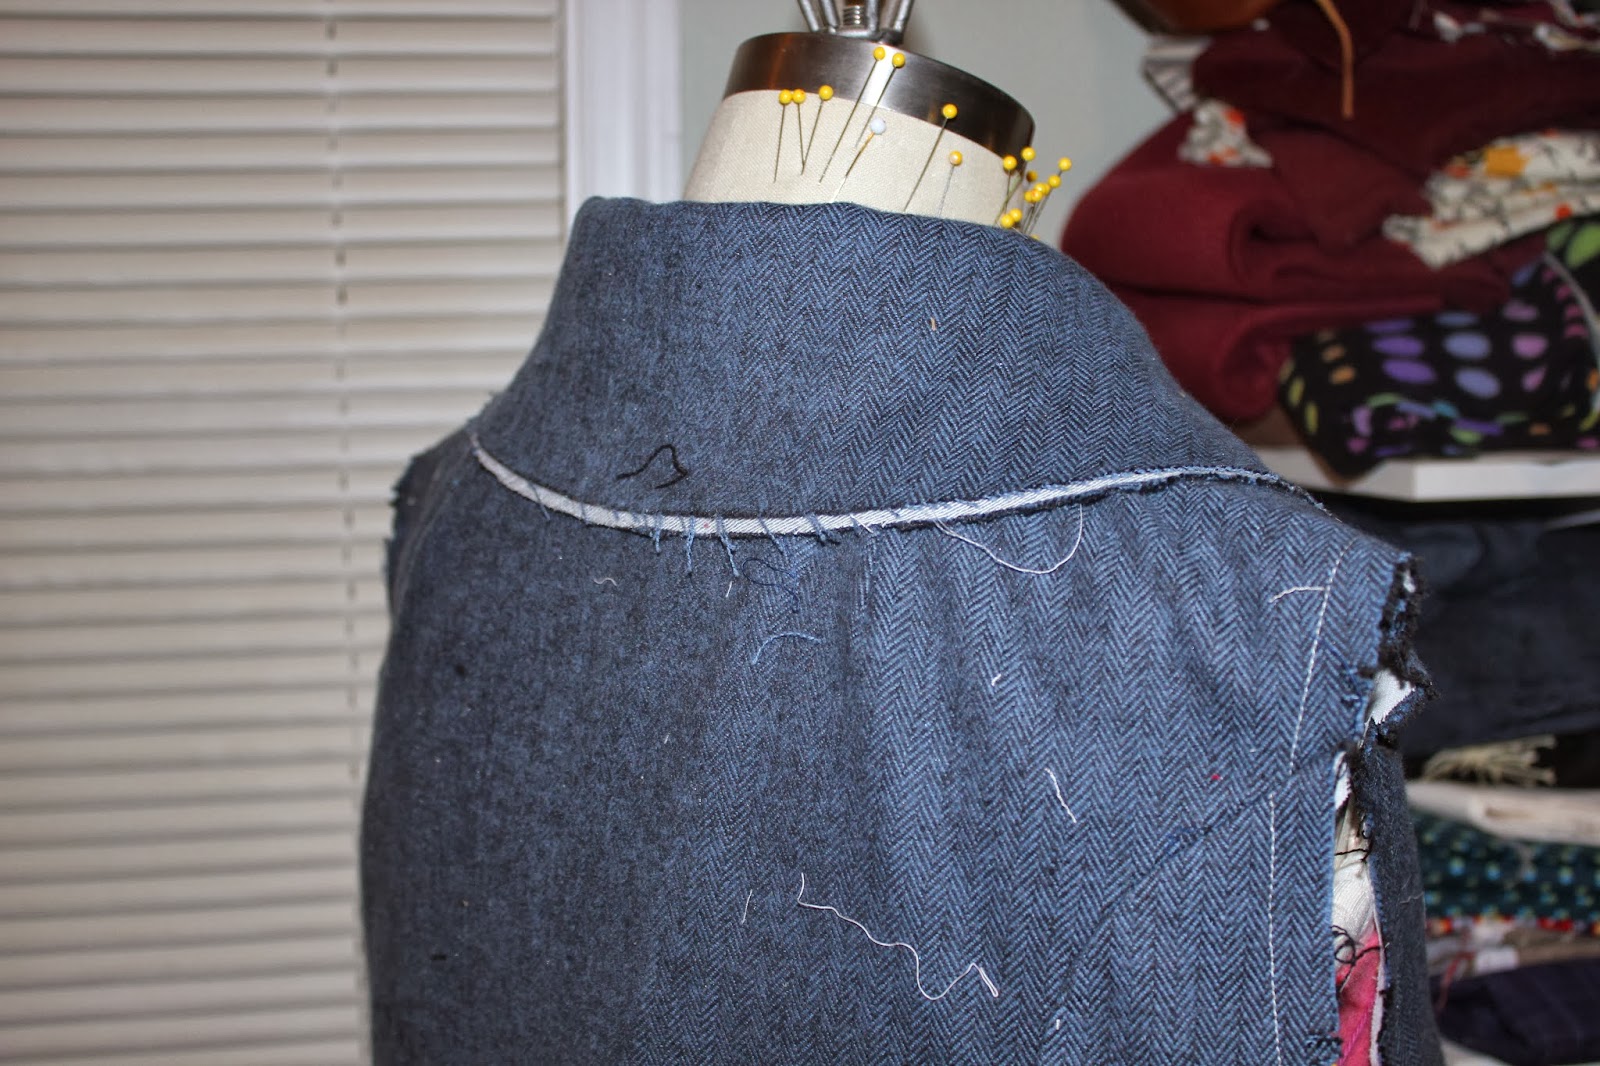
Now you must forgive all of my strings, I haven't broken out the lint roller yet. This is the collar trimmed up and sitting one on top of the other.

The next step is to stitch the collars together and to bag them out. After I had done that the directions called my attention to a marking on the wrong side of the facing. Here they call you to take the tails from stitching the collars to the facing and jacket, as well as the tails from stitching the collars together, and to thread them on a needle and pull them all through to the underside of the facing. Then you need to knot them together.


Next I trimmed the seam allowances where I attached my collar pieces and the seam allowance of the collars themselves.

Now for the tedium. One of the hallmarks of a well done coat is the hand work that goes into them. This was one of the most time consuming parts of the process so far. The last step of day 5 was to tailor tack the front and collar edges in place. It took some time, but it was worth it, it looked real good!

Thanks for joining me for day 5. I hope to be back at you with day 6 soon. On day 6 we will be getting into welt pockets. Oh how I love a good welt pocket.
No comments:
Post a Comment