Now back to Day 4. Here were the tasks I had to accomplish on the fourth day of my self-imposed Anise challenge.
Day 4:
- Create bound buttonholes ***This was considered "optional" but they are gorgeous so of course I took the option.
- Stitch the darts.
- Sew the back pieces together.
- Sew the front and the back at the shoulders.
I love bound buttonholes, though they do take considerably more time than machined buttonholes but they just look so polished and couture.
First thing was to mark out the space for the buttonholes on the left front and facing pieces. As you may be able to see I marked them incorrectly the first time and remarked them in orange. You can't see it in this photo but I had to move the left four buttonholes again, I had set them too far to the left.

The next step is to take 2 1/2" X 3" squares of the face fabric and interfacing, mark them to the same size as the buttonholes, and then pin them to match the marked spaces on the coat fronts.


I next cut the buttonholes open using an Exacto knife. I like an razor for this rather than scissors. I feel as though it allows me to cute through many layers easily.

Tragically it seams I forgot to take a picture of the buttonholes before I turned them to the inside. Once I did turn them I folded, pressed, and stitched them to the seam allowance.

What happens to the interfacings on the front facing pieces is the coolest thing I've learned yet. After I stitched the interfacing to the front of the facing and turned it to the inside I pressed them to the back side of the fabric. this was so cool and created a nice clean edge to stitch to the back of the buttonholes.

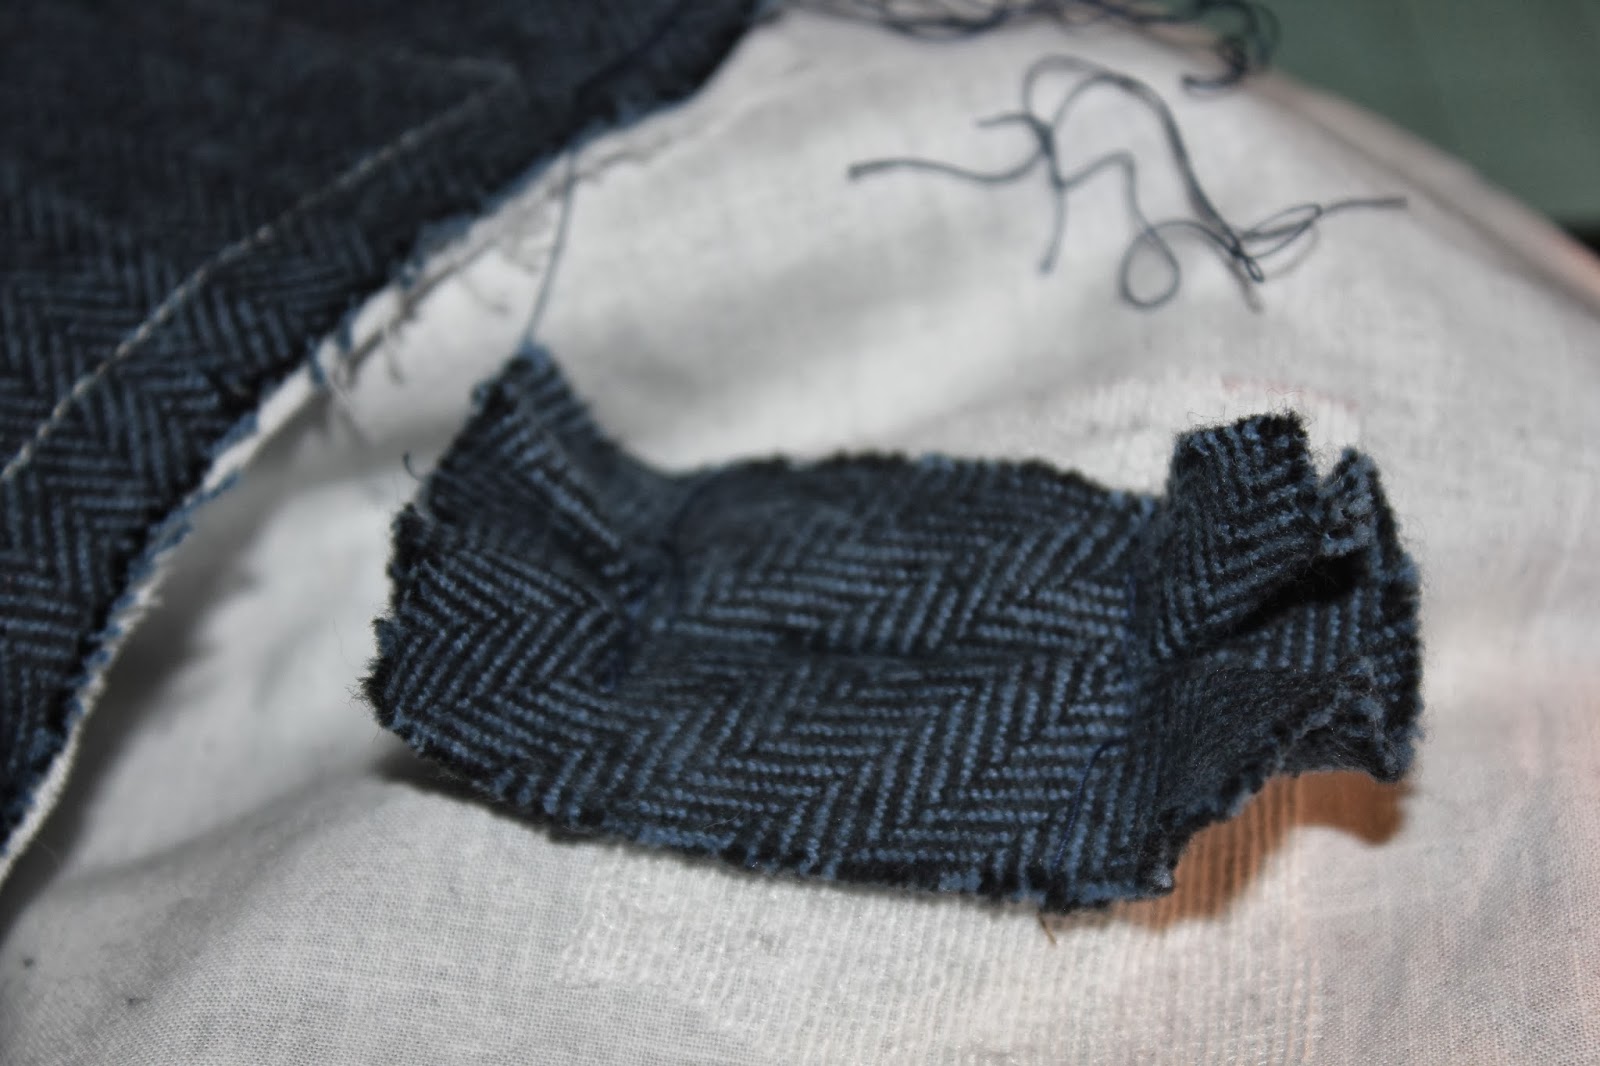
Then I stitched up the darts at the back of the neck edge.

I left the tails at the end of the dart long and rather than backstitching I square knotted the tails and clipped them.

I pressed the darts to the the center back of the piece. I always remember direction to press the darts by a saying from my favorite professor, "Down and in makes you look thin". It means that you press all your darts down towards the waist or in towards the center of the garment.

To make the sewing up of the side back seams easier I clipped the curves ahead of time.


I pinned the pieces together and stitched them up.

I then pressed the seams open over my tailor's' ham.


Lastly on the list for day four I stitched the shoulder seams together and then pressed them open.


No comments:
Post a Comment