As is usually the case with my sewing projects I have decided that Deb (my wife) should have her alts done first. This is how it usually works in our house. Deb says, "It would be great to have a (insert item here), that does (insert function here)." Then what happens is the Elves (they would actually be me) make it happen.
The first project I am going to be getting into is shortening two pairs of Deb's pants. She was very insistent that I tell you that she got these pants for $7 on sale at Eddie Bauer! In her words, "These are not $7 pants! But I got them for $7." That's my baby, always psyched to get a deal.
Step 1:
Try on your pants and have a friend help you pin up the extra length. To get a good fit it is important to be looking straight ahead with your hands at your side. Have your buddy roll up the cuff until you get the desired hem length on the pant. Pin it in place on the front and the back and then take off the pants.
If you have one leg longer than the other repeat this step on both legs. Otherwise you can measure and match the amount you're going to shorten the pants based on the first leg.
If you are shortening the pants solo then what I would suggest is cuffing the pants to where you think the hem should be. Then assess the hem in a full length mirror to be sure you are happy with the new hem. Pin it in place before you remove your pants so you don't lose that measurement.


Step 2:
Taking your marking tool, I like a tailors crayon, and mark the folded edge of the cuff you have pinned in. Make sure you mark on the front and the back and mark on the wrong side of the fabric.

You can then unpin the cuff that you have made. Turn the pants inside out so that you can see your marks. Measure the distance from the current hem to your marks on the front and the back. These two distances should be close. If they are different I always like to use the shorter measured distance. This way I cut off less of the pant. You can always go shorter, but once you cut it off there is no going back.
Step 3:
On these pants in particular I am doing a 1" roll hem. That means that the total amount of fabric in the whole hem is 2 inches. The distance from the current hem to where I want it to sit is 3.5". That means I needed to cut off 1.5" total. I marked a line 1.5" up from the original hem

Step 4:
Cut off you're extra fabric on the line that you marked.

Step 5:
I marked two inches up from my cut line. This give me a line to fold to.

Fold the raw edge up to the line and press.

Step 7:
Once you have folded and pressed the hem up to the line that you marked (up 1"), you are going to fold the fabric up one more time. Now press and pin.

Step 8:
Next step is to sew. Put that bad boy through the machine!

FINAL STEP:
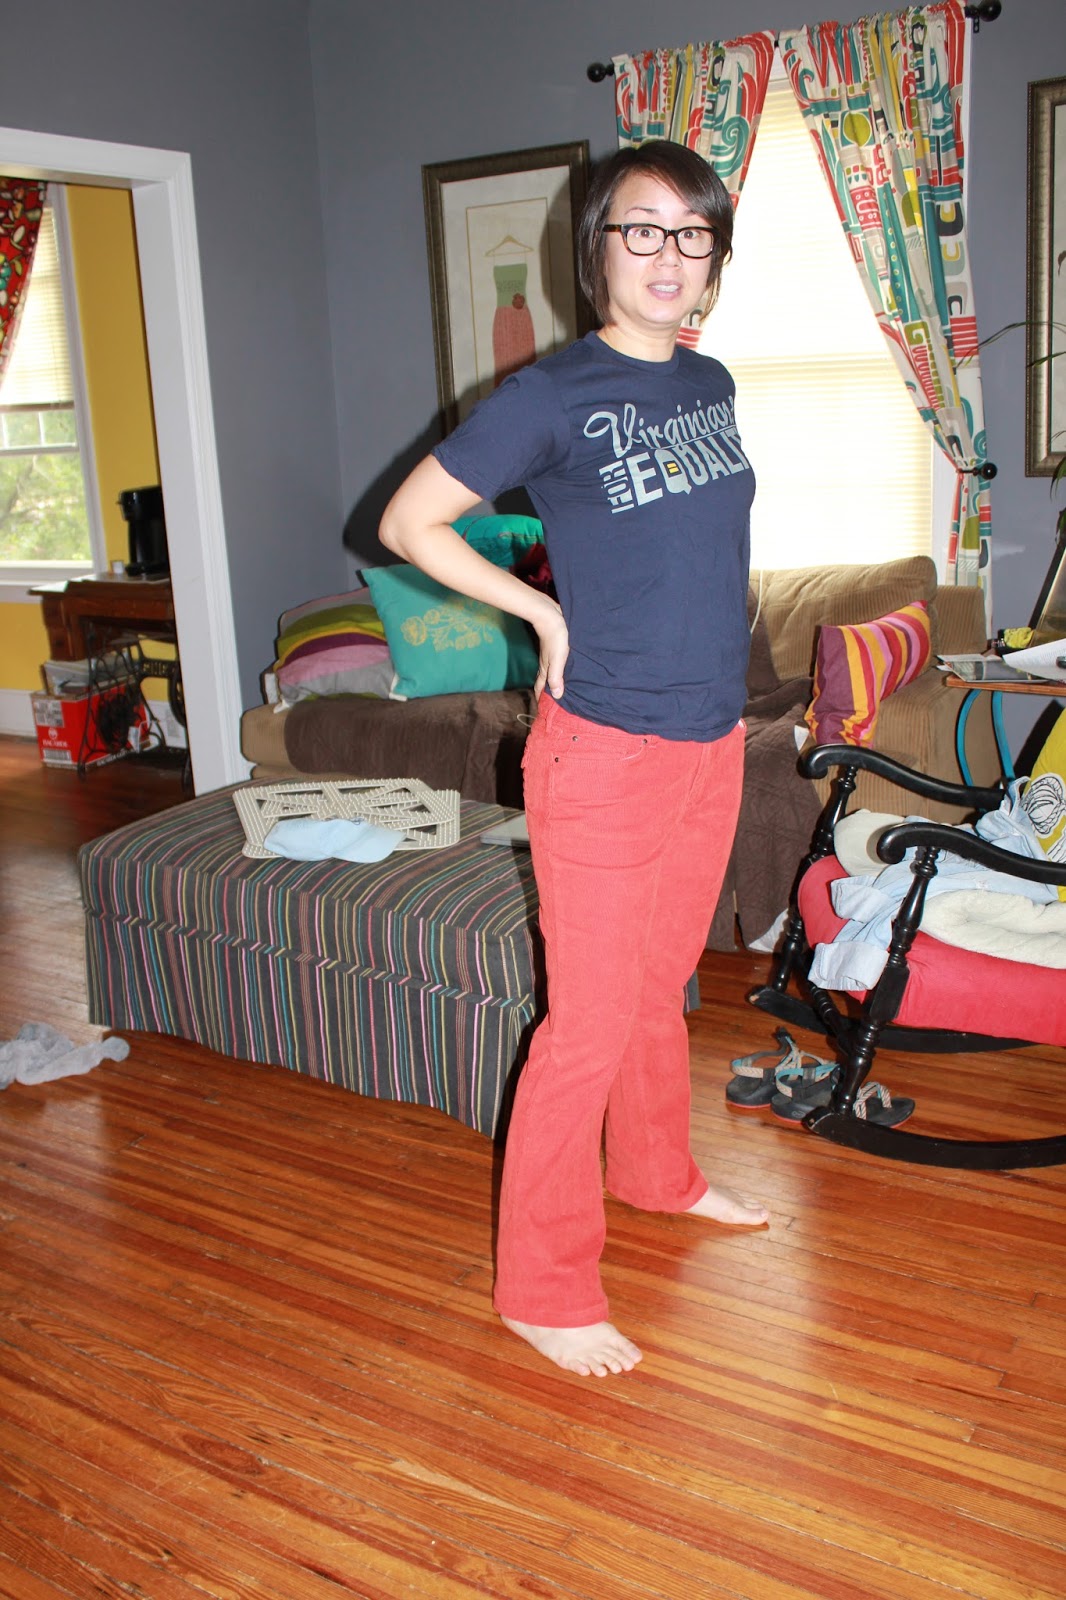
Get your wife to throw those pants on and show off your handy work.


When at all possible get a Great Dane in on the action. If you have one named Orson all the better.

That's a good looking wife, I mean hem, I mean Great Dane....AHHH I mean you're all pretty!
Awesome red cords! Every single pair of my husband's pants have to have the hem shortened too... Isn't it fab when the originals are like that -- long enough to just cut off without unpicking?? :D
ReplyDeleteOh my god I can't even tell you how much I hate unpicking commercially done sewing! Its one thing to take a seam ripper to your own work but it's a real pain in the rump to take out commercial stitching!
ReplyDelete